This guide will help you install the FileZilla FTP program.
1. Goto http://filezilla-project.org You will see the Page in figure 1.
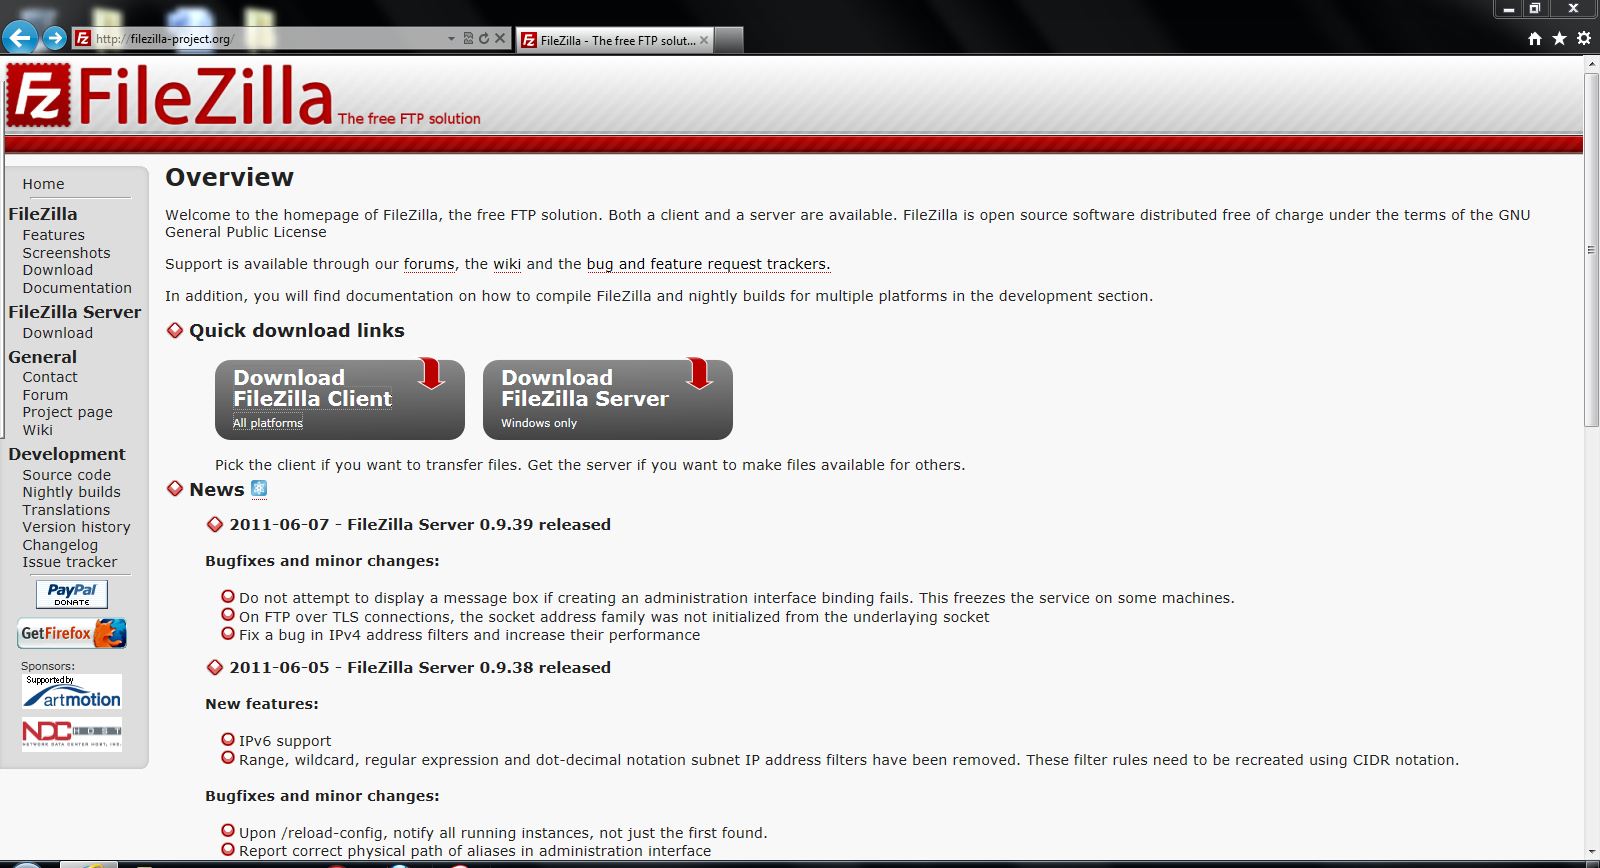
Fig 1 - Click on image to open full page image
2. You see 2 gray boxes at the top of the page. Click on the one that says "Download FileZilla Client" Figure 2 should appear. Notice the the file versions of FileZilla are always being updated, so the file versions you see might very well be later that the ones in the next images.
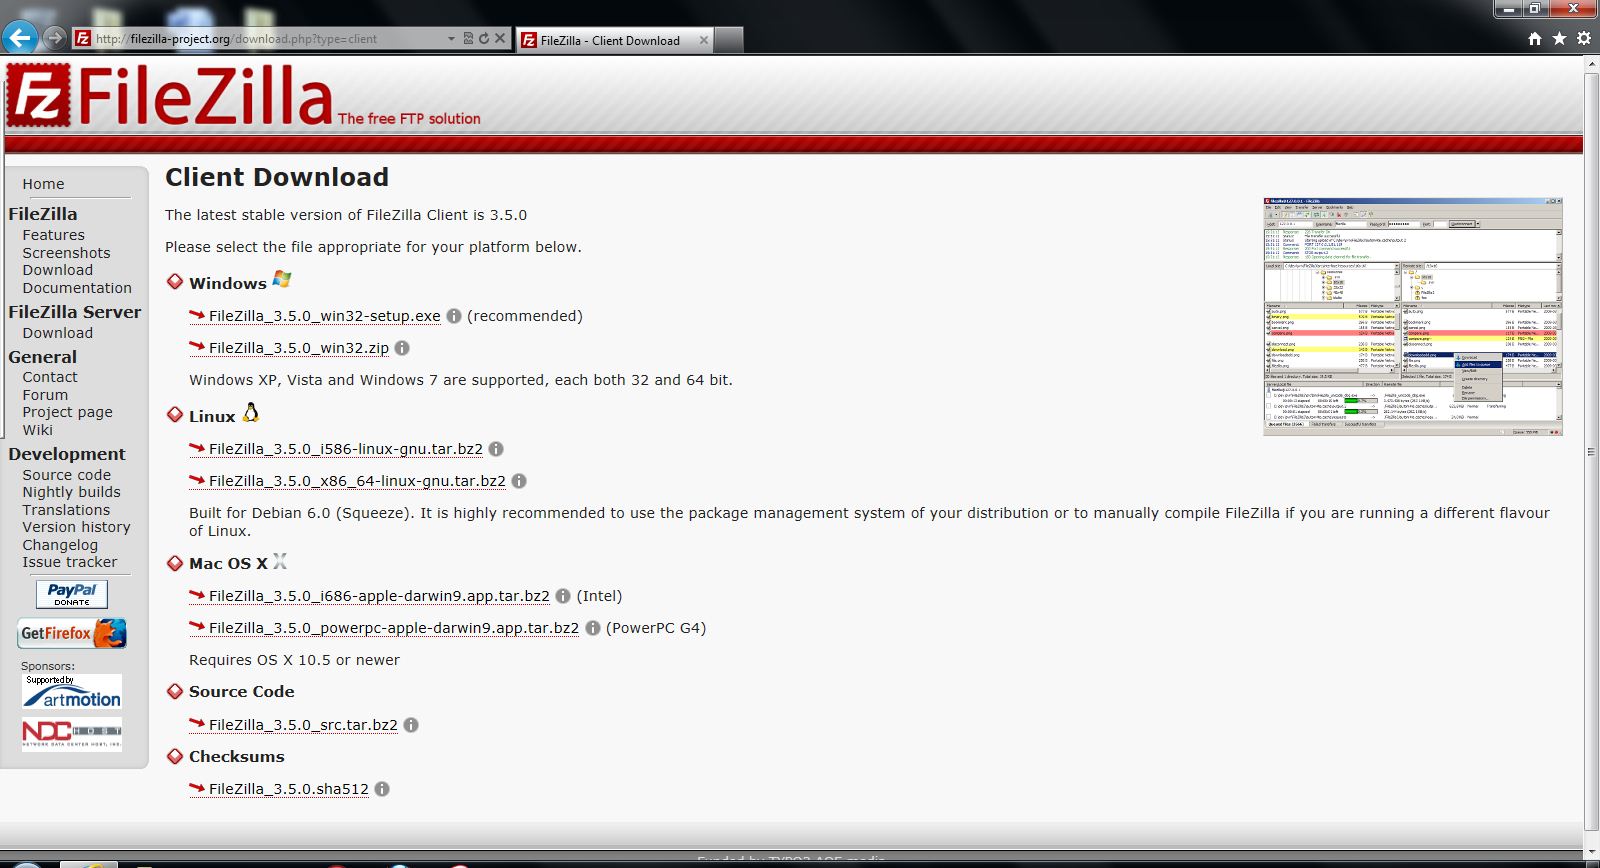
Fig 2 - Click on image to open full page image
3.
There are selections on this page for what every type of operating system you have. You will download the one correct for your system.
This demo shows Windows, using the Win32-setup.exe file. (this file changes often as FileZIlla is
continuously updated.
Click on the one
appropriate for you system. A page similar to fig 3 should appear.
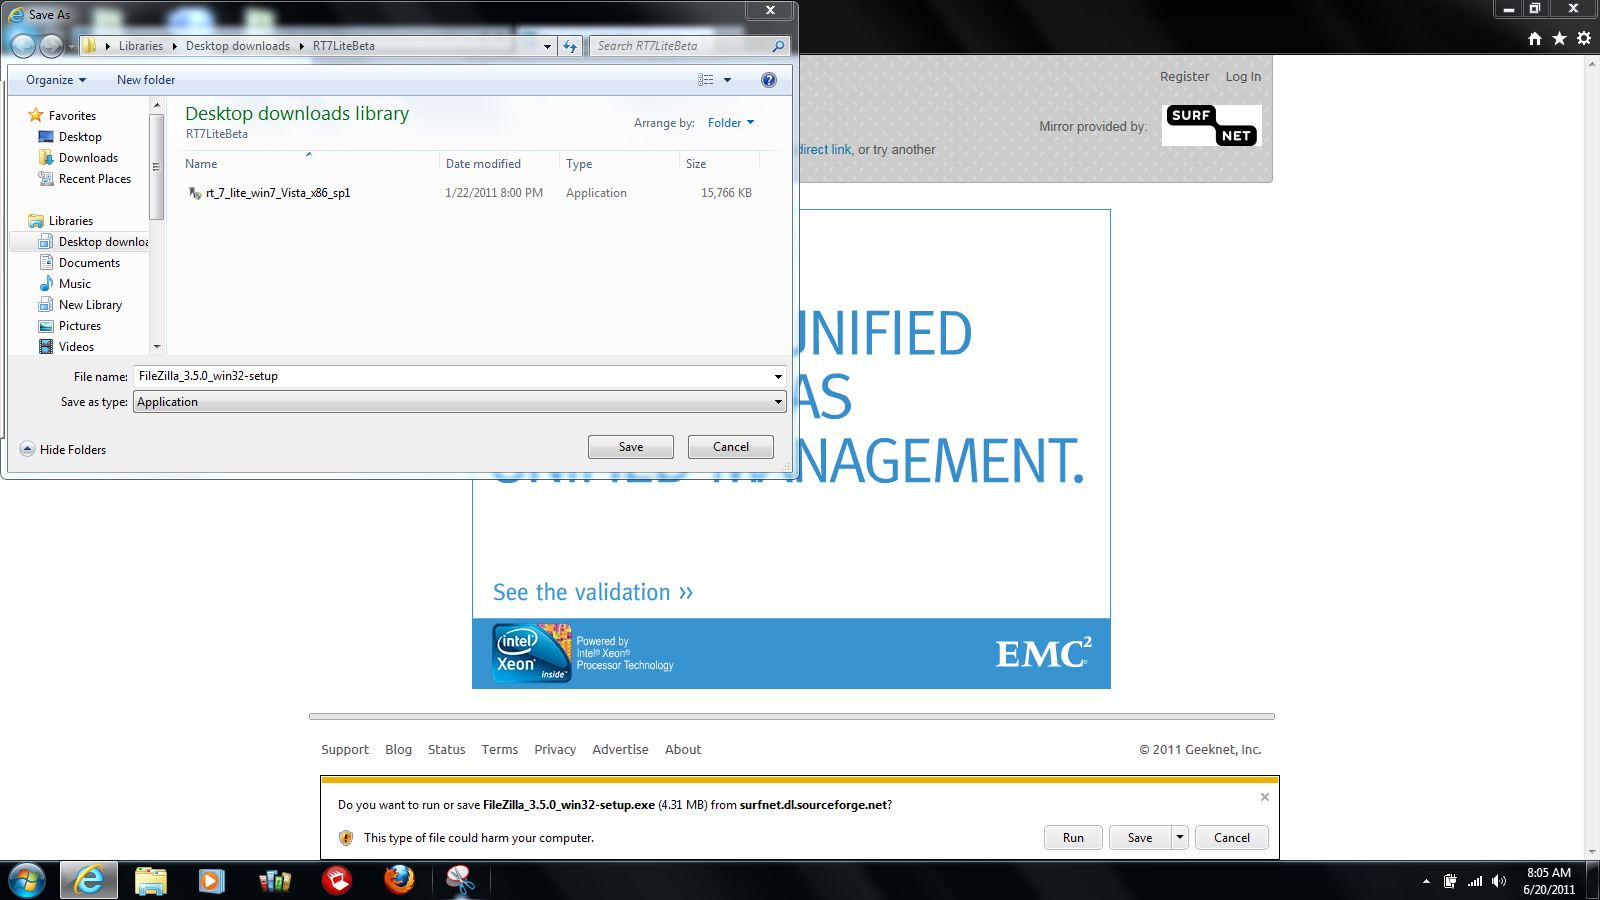
Fig 3 - Click on image to open full page image
4. Save the file to where every you want it stored. I used save-as and stored mine in a directory called Desk top downloads, but you can save it anywhere on your computer.
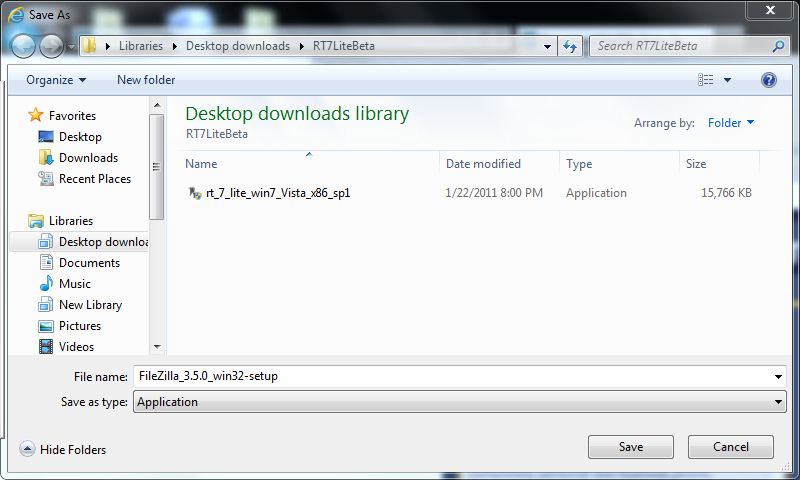
Fig 4 - Click on image to open full page image
5. Figure 4 shows it stored where I wanted it. Your page might look different according to where you stored it.
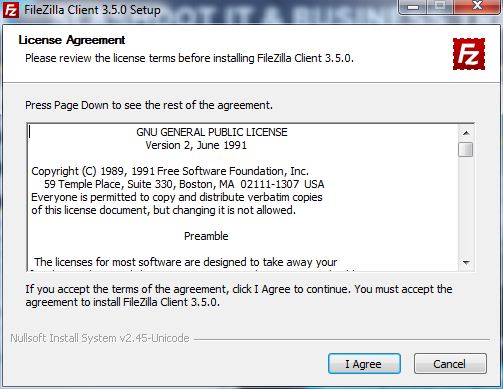
Fig 5
6.
Normally A license agreement will show up as soon as the program has been stored. It should look something like figure 5.
If this license agreement does not pop up, then you are going to have to run the program listed in Figure 4. Normally
double-clicking will run it in Windows, other operating system might have a different
procedure to install a program.
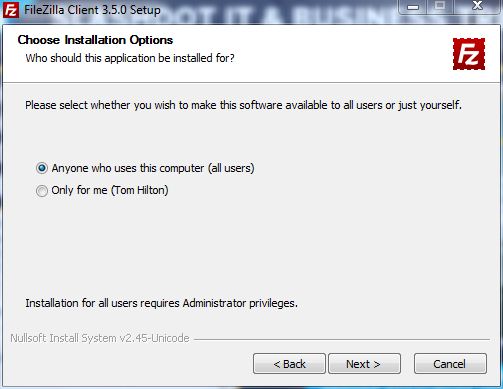
Fig 6
7. Figure 6 lets you select who on your system can run FileZilla. Either choice is fine. After making a choice click next.
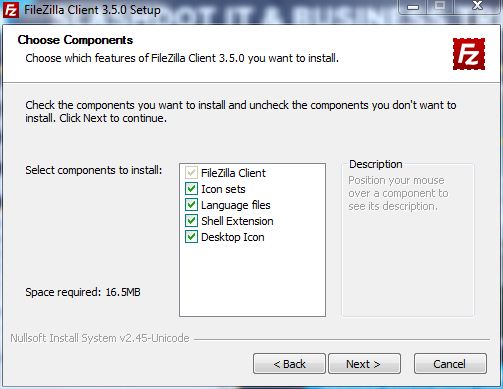
Fig 7
8. Figure 7 shows the components to install."Normally leave default selections." I however do add the
"Desktop Icon"
Select Next.
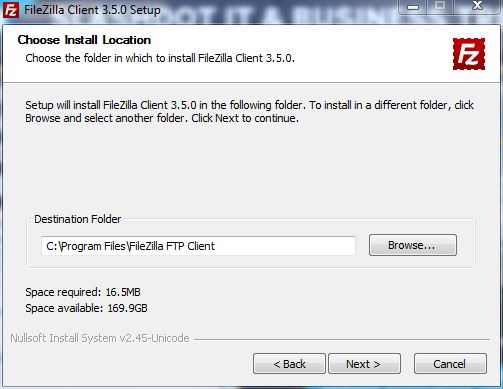
Fig 8
9. Figure 8 shows where the program will be installed. I normally do not change it from the default location. If you are computer knowledgeable then you can do as you like. Click Next. (If you are computer knowledgeable why are you reading these instruction?)
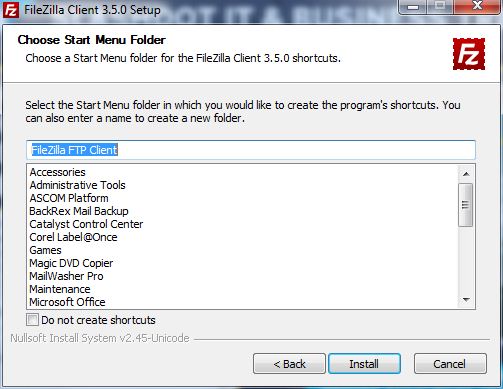
Fig 9
10. You should now get a page asking you where Start Menu to place the program shortcuts. Other operating systems may not show this page. Just hit next.

Fig 10
11. The Completing Setup window should appear. Select the Start FileZilla now box, and then select Finish.
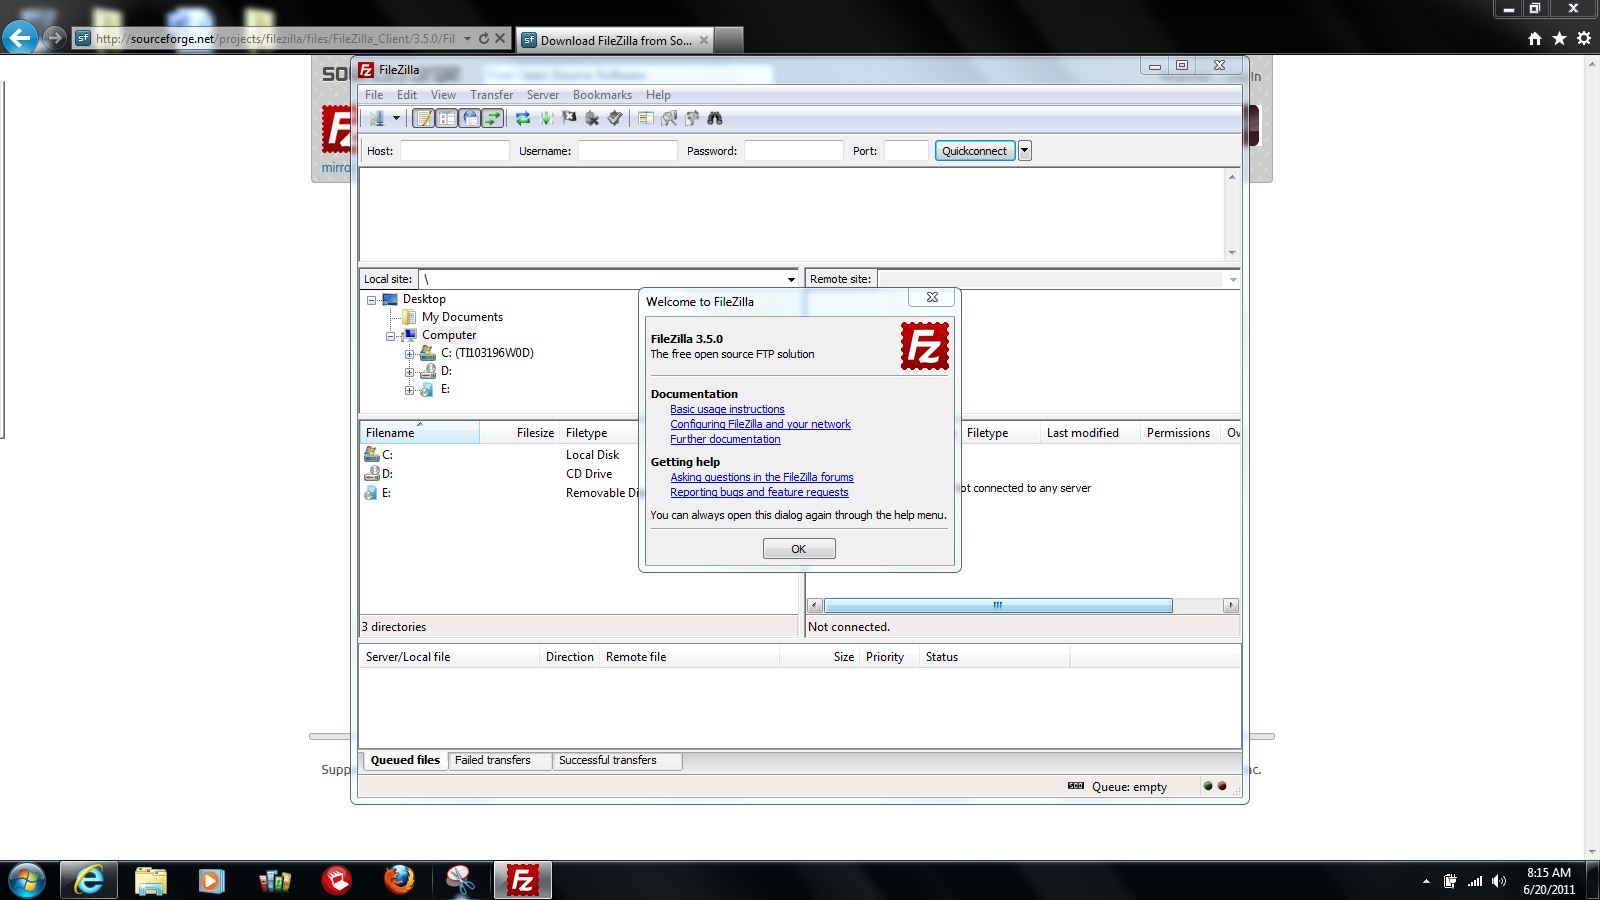
Fig 11 - Click on image to open full page image
12.
You should receive a popup window similar to the one in Fig 11 with FileZilla in the background. Select OK
in the popup.
A entry similar to Figure 12 should appear. If it does not, then on the File Selection Menu
in the upper left of the FileZilla page select "Site Manager"
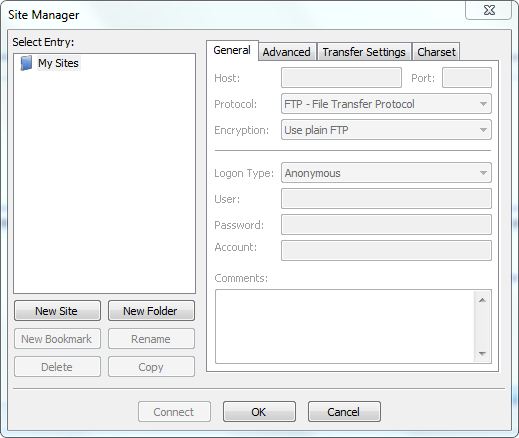
Fig 12
13. Figure 12 is the site configuration window. We will fill in the values as shown in Figure 13.
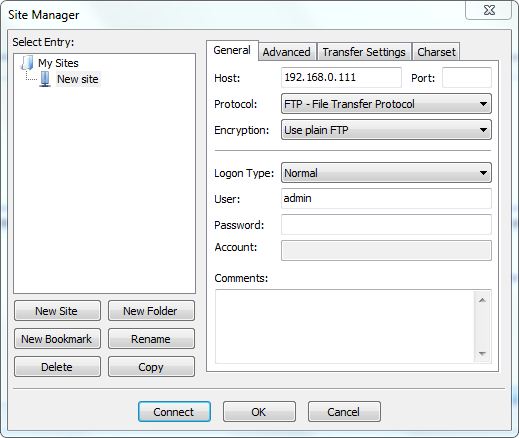
Fig 13
You should also be able to find this address in your hand controller. On the Main menu page press Menu, then
Mount, then Network buttons on the hand controller. The Gemini-2 IP address should be in the top bar.
- Make sure FTP - FIle Transfer Protocol is selected.
- For Encryption use: Use palin FTP
- For Login type select Normal For user: put admin For the password: clear out any entries shown, it needs to be blank.
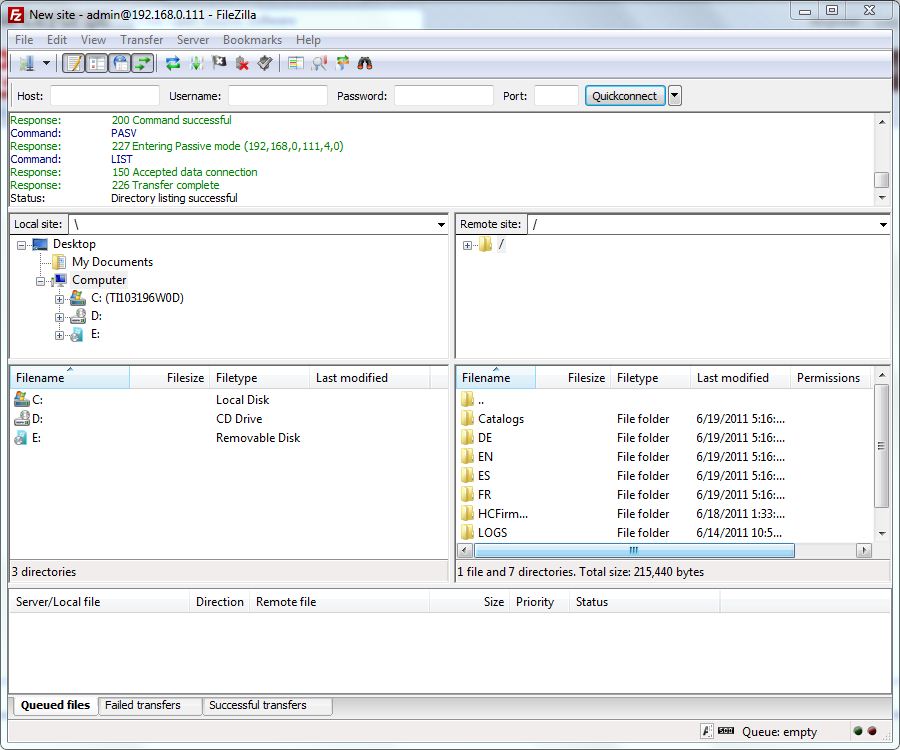
Fig 14 - Click on image to open full page image
15. The Left set of panels are your computer files. The Right set of panels shows the files on the Gemini-2 micro-SDcard. The top boxes of each panel can be turned on and off. Under View in the upper menu bar, are 2 selections: Local Directory tree is for the left panel, and Remote directory tree is for the right panel.
- We recommend you enable "local directory tree" and "remote directory tree" from the View menu. This will make navigation easier."
- You can now shrink down or hide the FileZilla page for now. On windows 7 this is done by clicking the - (negative) sign in the upper right corner of the page.