Second Communication Port Cable for Gemini-1
The Pictures and testing of this cable was provided by Brian Portman. Thanks Brian for your help.
Please read all the steps before attempting to build this cable.
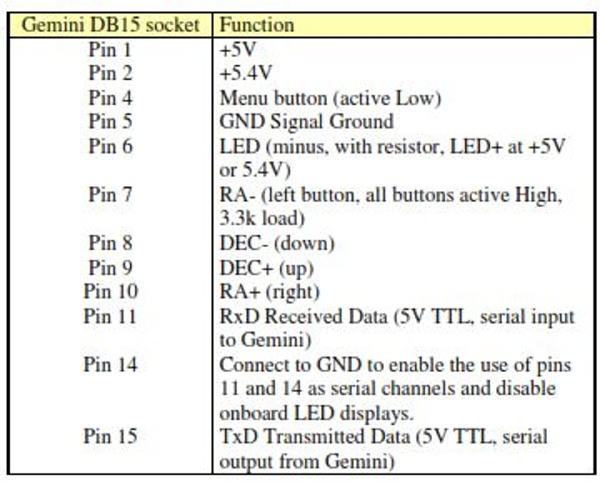
  1. This page will teach you how to make a cable that can be connected to the to the "DB15 Hand Controller Port" of the Gemini-1.  This cable will provide a USB to Serial virtual port into your computer by replacing the Deluxe Hand Controller connected to the DB15 connector. 
  2. There are drivers for many different operating systems available.  See http://www.ftdichip.com/Drivers/VCP.htm  for the different drivers, including MAC OSX, Windows, Windows 8.1 and Linux.
  3. This cable can be used if your main RS-232 port has gone on the fritz, or just as a second port. You can have this port connected to ASCOM, and the main RS-232 port connected to GCC for example. The reverse is also true. The one word of caution if using both ports at the same time, is do not send conflicting commands to the Gemini from the applications connected to the Gemini.  Unpredictable results can happen, and you could damage your mount.
  4. For this cable to be safe in connecting into the Gemini Deluxe hand controller port, you should use an USB Isolator.
  5. GPS receivers will not work through this communications port, as the Gemini does not interrogate this port for GPS.
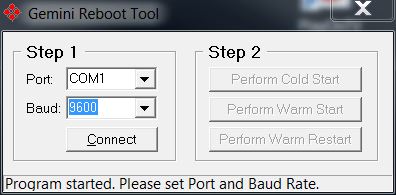
  6. Also you will have to use a program that can tell the Gemini how to boot.  See item 6 under using the cable below.
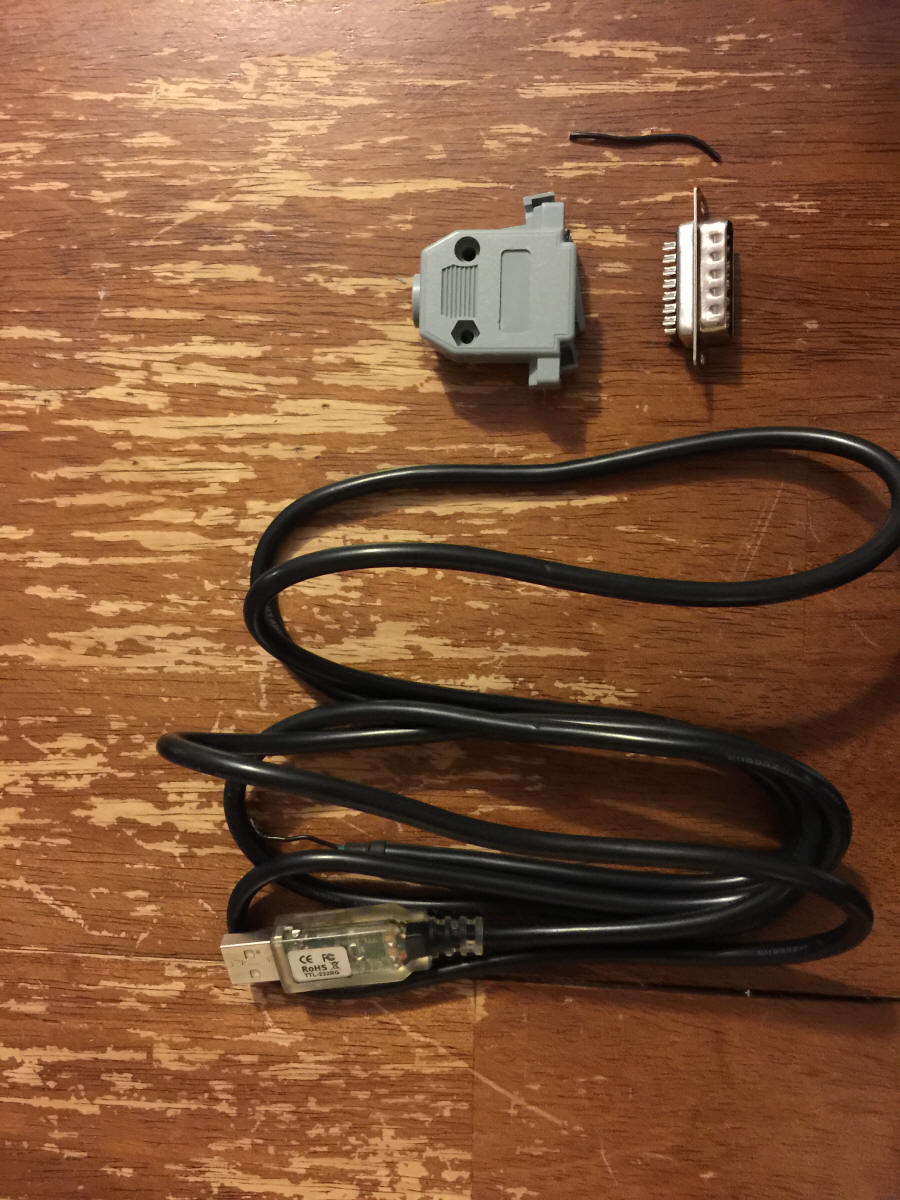
  7. Here are the items you will need to build this cable:
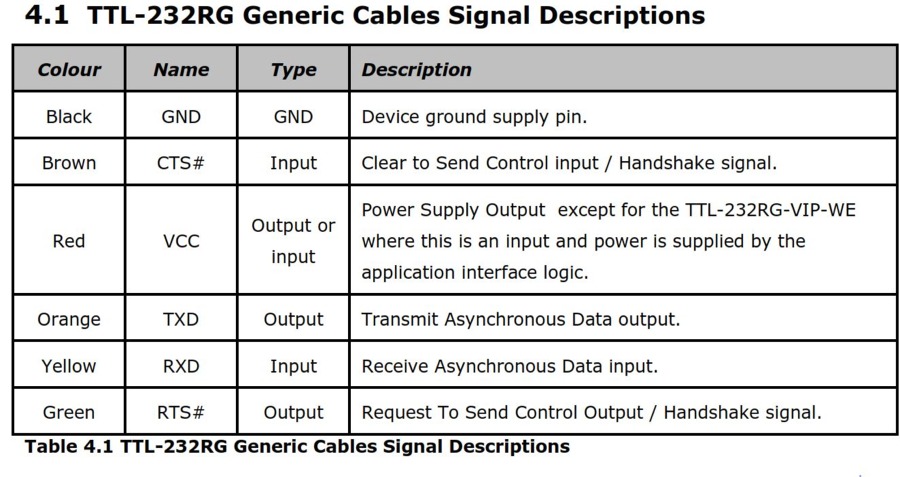
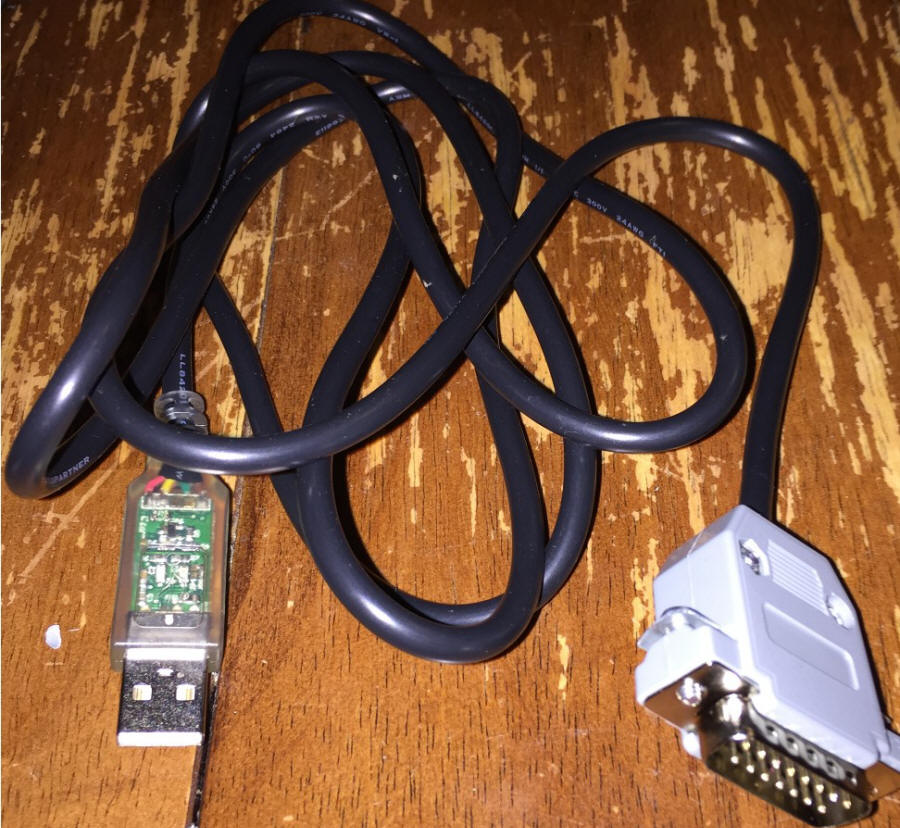
    1. A USB to TTL 5V Serial FTDIchip cable. Part number  TTL-232RG-VIP-WE available from Digikey or Mouser.
    2. A DB15 Male Connector with Solder cup connections.  From Digikey from Mouser
    3. A plastic D-Sub Backshell for covering the connector.  From Digikey  from Mouser
    4. Some heat shrink to fit over the solder cup connections.
    5. A short peace of wire. 
    6. A good Soldering Iron, wire cutters and wire strippers, and some way to heat the heat shrink.
    7. An USB ISOLATED Adapter.  Optional but highly recommended.


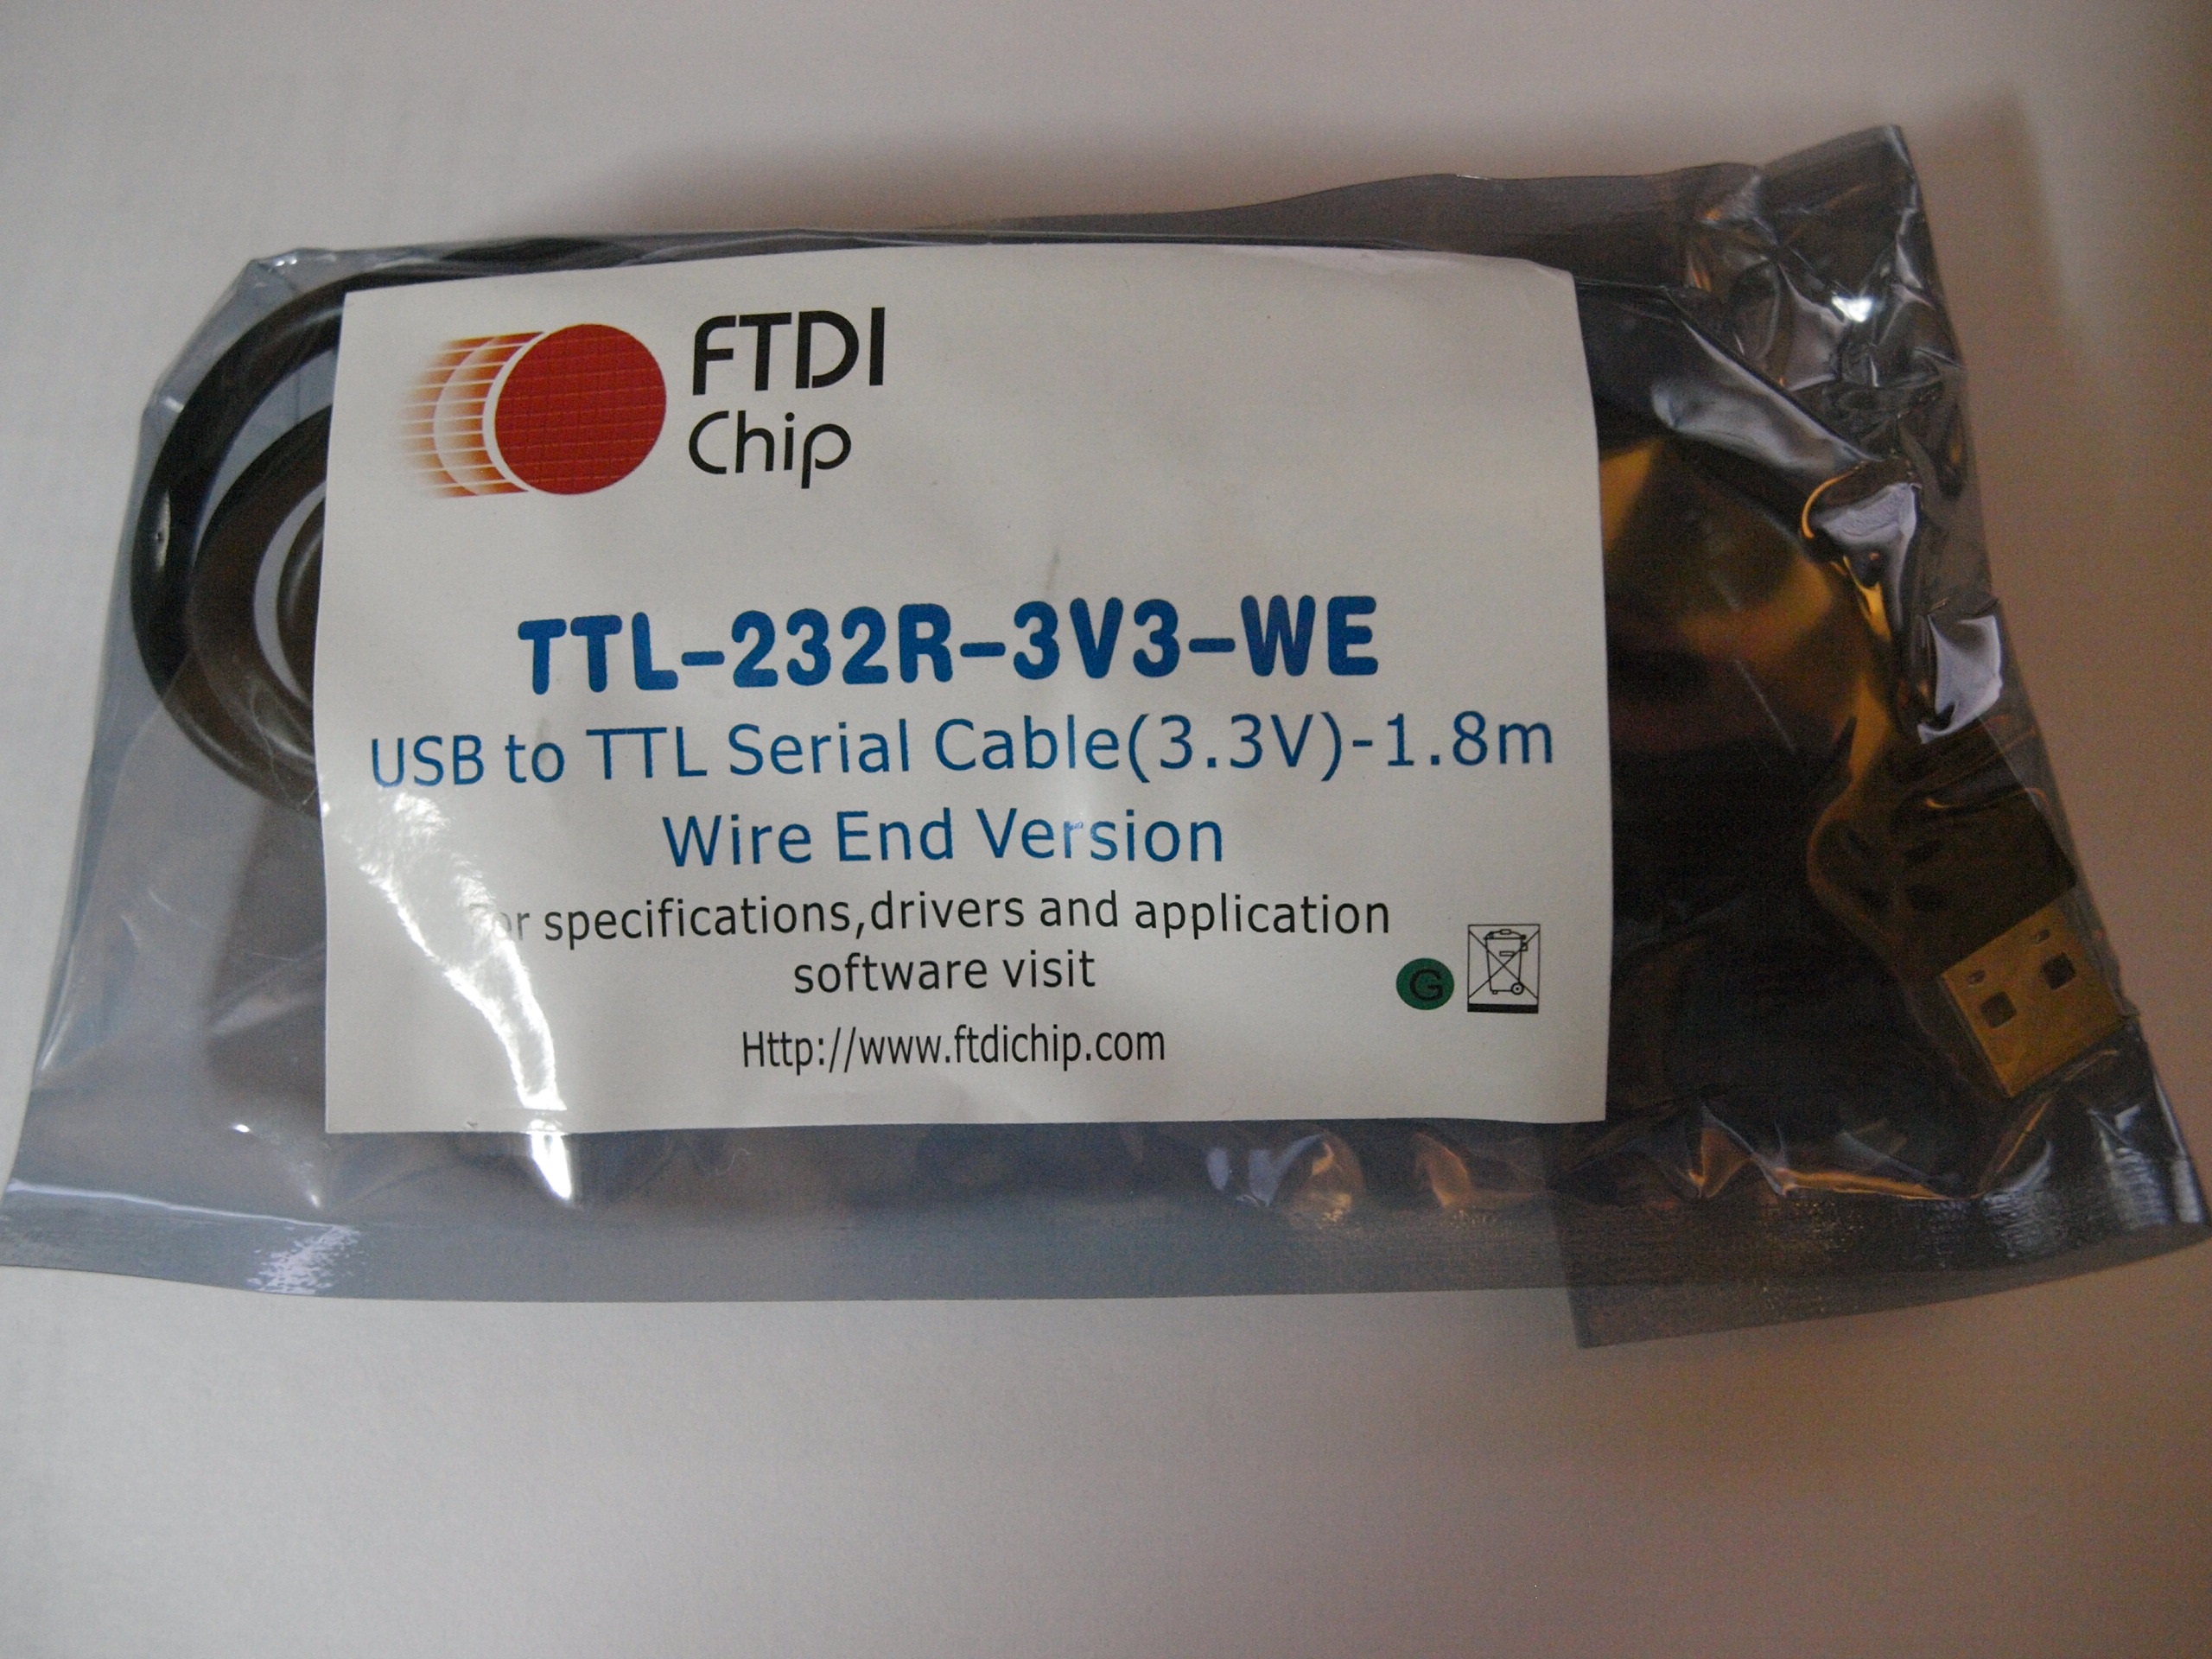
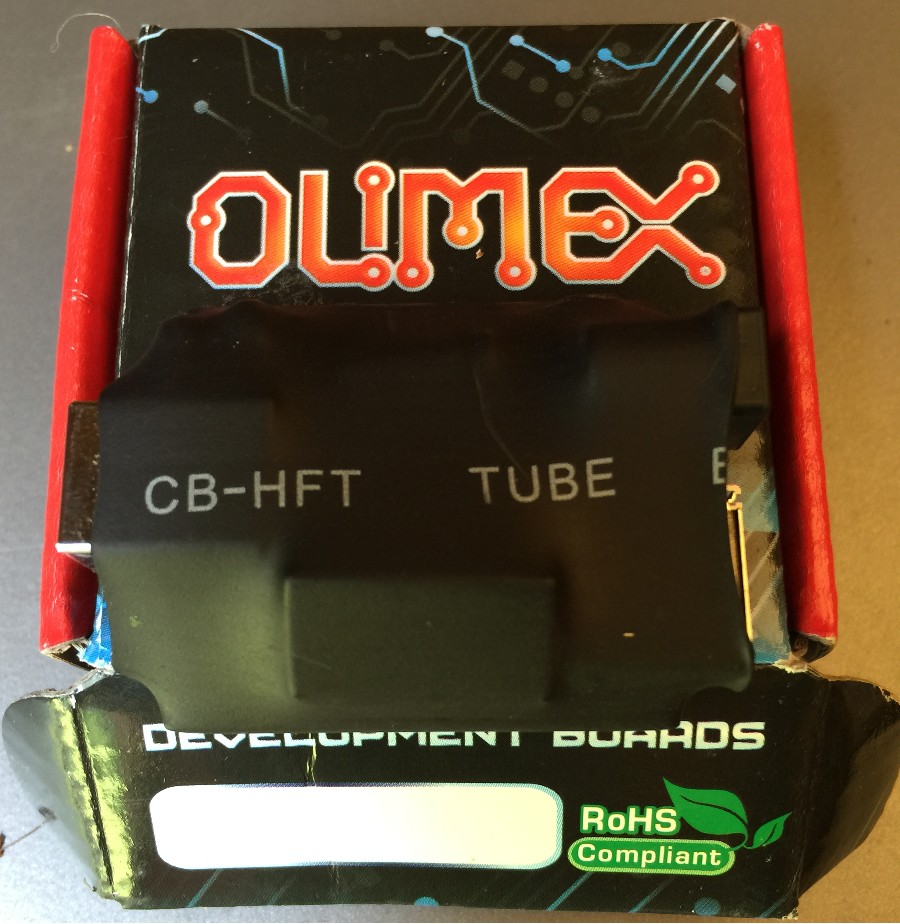
The package as it arrived from Mouser or Digikey, nicely sealed in anti-static packaging.


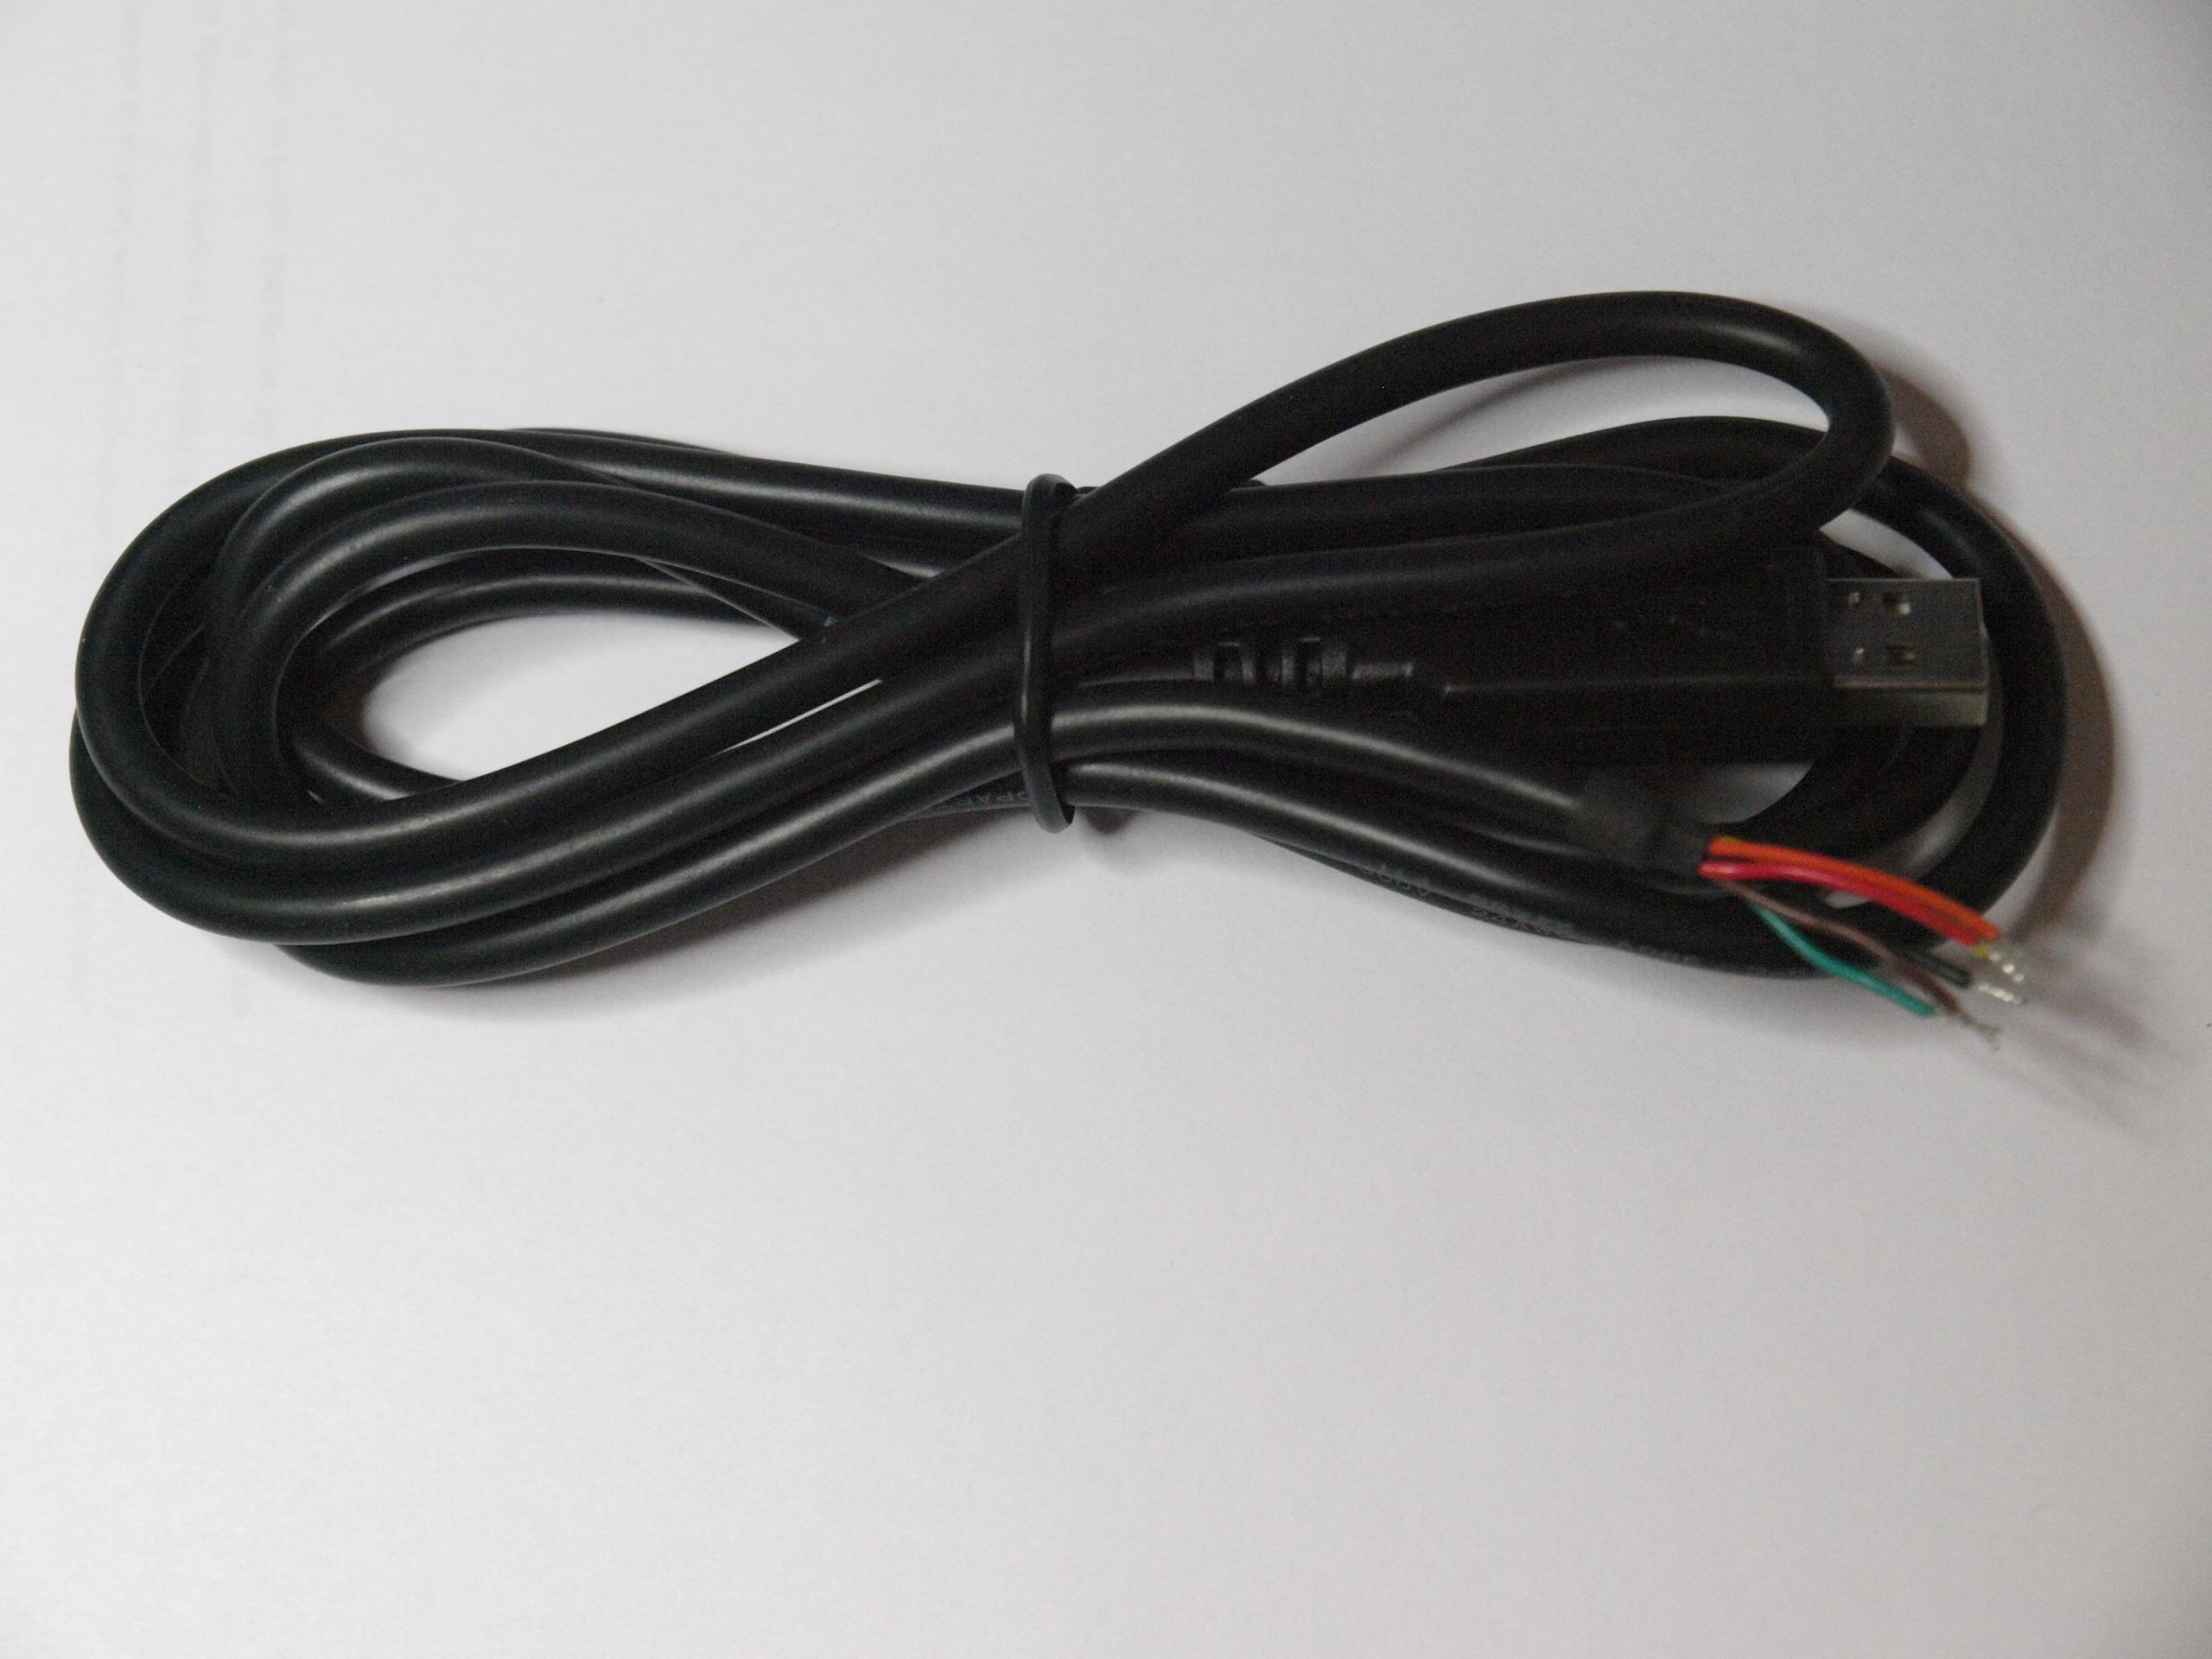
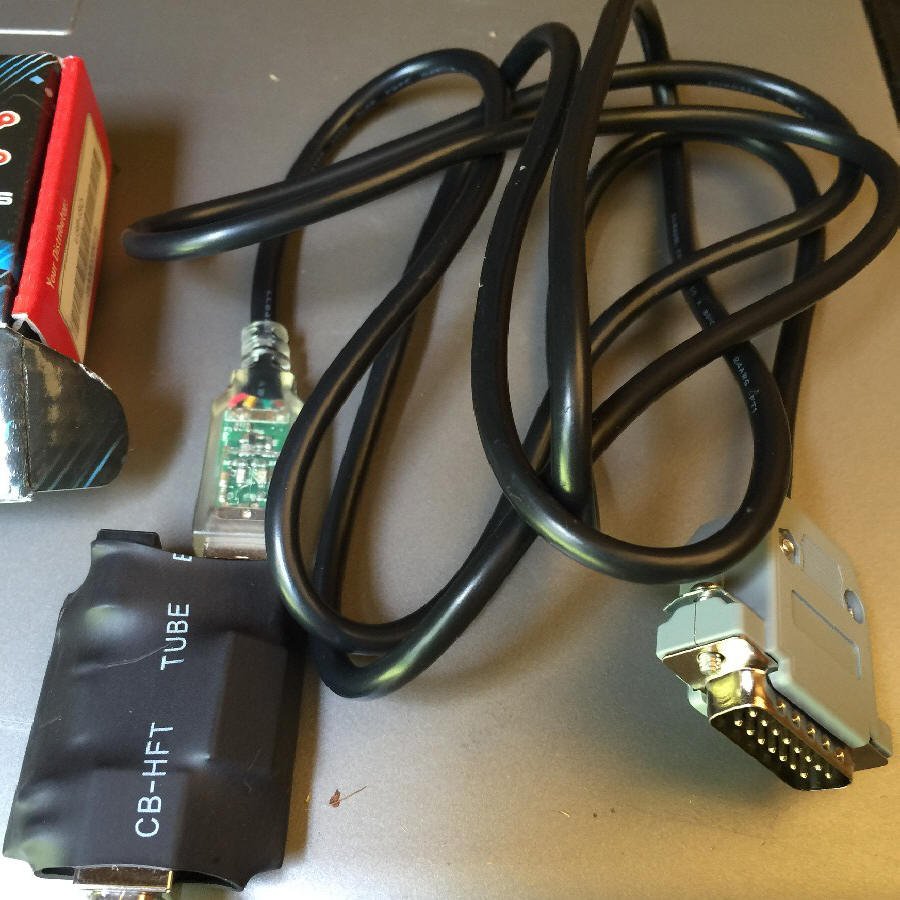
Cable removed from package, the cable will have an transparent plastic end.


The parts you will need.


We will use the colored wire table from the FTDI Manual to determine how to wire the cable.


And the chart from the Paragraph 6.2 of the Gemini-1 Users Manual
Here is how the wires will be connected.
  1. The Orange Wire (TxD) on the cable will be connected to Pin 11 on the DB15 Connector.
  2. The Yellow Wire (RxD) on the cable will be connected to Pin 15 on the DB15 Connector.
  3. The Red Wire (+5V input) on the cable will be connected to Pin 1 on the DB15 Connector.
  4. The Black Wire (Ground) will need to be connected to two pins of the DB15 connector.
    1.   This is where the short peace of wire comes in.  It will needed to bridge between connector pins 5 and 14.
    2. The black wire from the cable will need to also go into either pin 5 or 14.
  5. The green and brown wires will not be used.  I would put heat shrink over them, and keep them in the DB15 plastic cover.


Here a picture of the connector wires.


Picture of the completed cable:

Now Please note that this cable has no electrical isolation built in. This cable is connecting directly into the pins of the processor of the Gemini-1.  Any kind of ground loop or static charge could possibly damage the processor. I Therefore highly recommend that you provide an USB Isolator such as the one of ones the below:

Here a picture of the OLMEX USB ISOLATOR.


Cable with the OLMEX USB ISOLATOR attached.

USING the Cable
  1. Power off the Gemini-1
  2. You will remove the Deluxe Hand controller from the Gemini-1.
  3. Now connect the DB15 end of this cable to the Gemini-1
  4. If Using windows, then you need to install the FTDI Virtual Serial Port Driver.  I recommend using the EXE version as that is quite a bit less hassle free.  Other drivers are available here.
  5. Connect the USB end into one of the USB ports on your computer.  If you installed the driver as in step 4, then your computer will create a virtual serial port to it.  You might have to use the device manager to determine which port it is.
  6. You are going to have to use an utility such as GCC or the ASCOM driver or the rebooter program to get Gemini-1 to boot.  The reason for this, is that without the Deluxe Hand controller, the Gemini-1 has no way of knowing which mode to boot in. (Cold, Warm or Warm-Restart.)  If this is the only connection you have then the program will have to boot the Gemini through it. If you still also have the RS-232 port active and using it, then you can boot the Gemini through either communications port.
  7. Turn on your Gemini-1 and enjoy the second communications port.


>
-->